How to Add a Flower on Girl's Hair

This is a very simple and quick tutoria on how to add a flower on girls hair

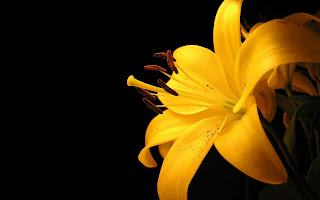
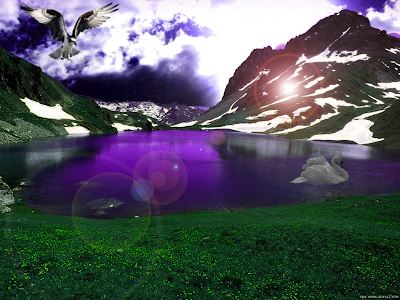
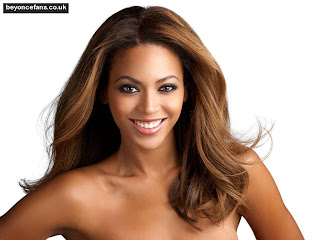
Open you images in photoshop, I will use below images


Remove flower background using Erase tool and Magic erase Tool


Then drag the flower on top of girls image, then click CTRL+T to resize and position the flower using handles


 Apply burn tool to make the flower  a bit darker 


Then  add noise to make it look real
Filter - Noise - Add Noise, then will set amount to 2, and makesure Gaussian and Monochromatic is selected


Go to Image - Adjustments - Exposure and Brightness and contrast to fix color as you desire

Below is my final result


How to change part of photo to black and white

Open your Photo in Photoshop, i will use below


Double click the background layer in the Layers panel and rename the layer so that it can be editable

Create an Adjustment layer that will allow us to make changes to the photo without harming the original.
Click on created new Fill/  create new adjustment Layer and choose Hue/Saturation


When Hue/Saturation box opens, check colorize  box and then slide the Saturation slider all the way to the left. This will make your photo black and white


Create a new layer above the Adjustment layer


Choose the History Brush or simply Click Y, make sure that black is your foreground color. Then start painting the areas you want to have color show up . If you paint too much, use the eraser tool to correct

Below is final result

After


Before

How to Apply Iris Blur

Iris Blur tool allows you to add blur to an image that fakes a shallow depth of field

Open your image in Photoshop
In this tutorial am going to add blur to the whole picture except the flower


Duplicate background Layer

Ctrl+J or go to  Layer -New- Layer via Copy


Now, you will be having two layers, background layer and Layer 1 which is the copy of background layer

Go to Filter > Blur > Iris Blur


Click on your image and a cycle will appear, everything outside the cycle will be blurred
Play with dots to reposition where you dont want to be blurred
When you are satsified now your right hand side in Blur tool slider you can set amount of blur you want


When you are satisfied simply click Ok and press enter


Below is final image


How to Add Rainbow in a photo

Now lets learn how to add realistic Rainbow to a photo

Open an Image in Photoshop


Add a new Layer
Go to Layer - New - Layer or simply click Shift+Ctrl+N
Name new Layer Rainbow

Select  Gradient Tool , make sure Rainbow layer is selected


Click on the Gradient Picker in the Options Bar, a list of additional Gradient will appear then choose special effect


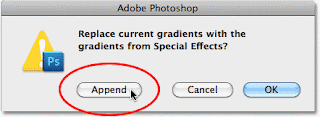
A window will pop up asking if you want to apply special effects then click Append


Now Go back to Gradient Editor and select Russell's Rainbow


Make sure Radial Gradient is selected


As per below image, now Drag out a rainbow gradient from right to left in the image then release your mouse


Now press Ctrl+T to be able to reposition the rainbow as you desire


Change blend mode Of The Rainbow Layer To Screen


Go to Filter > Blur > Gaussian Blur, to apply Gaussian Blur into the rainbow


Add blur into the rainbow until it looks soft and natural


With Rainbow Layer selected ,add a Layer mask 
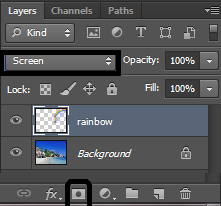


You will see a white box appearing beside Rainbow layer


With Gradient tool selected, Go to gradient options and select Black,white


Choose "Linear Gradient" From The Options Bar


Drag A Black,white Gradient On The Layer Mask so that we can make rainbow appear brighter as it reaches into the sky


well, below is final result
Related Posts Plugin for WordPress, Blogger...