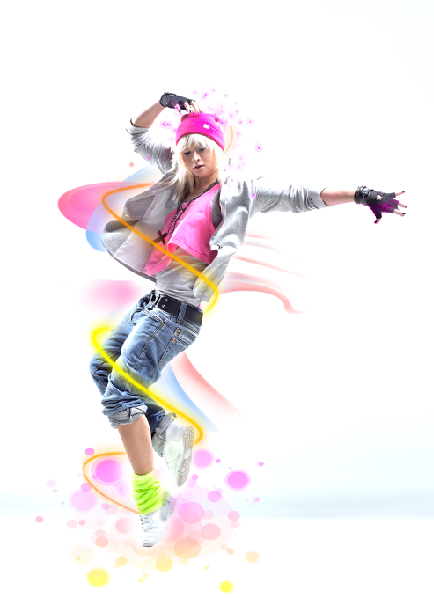
Open you image in Photoshop
Duplicate the background layer
Create New Adjustment Layer - Gradient Map
Then, your photo will turn into black and white,
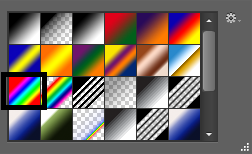
 Double-click on the left thumbnail on its layer to open up the Gradient Editor dialog box.In the Gradient Editor dialog box there are two squares on the bottom side of the gradient’s color bar. Double-click on the bottom left square black) and right square (red) and set the color accordingly
 Please follow below color setup


Change Layer blending mode from Normal to Overlay


Create New adjustment Layer- Curves to add light into your image
Then you are done
 |


.jpg)


