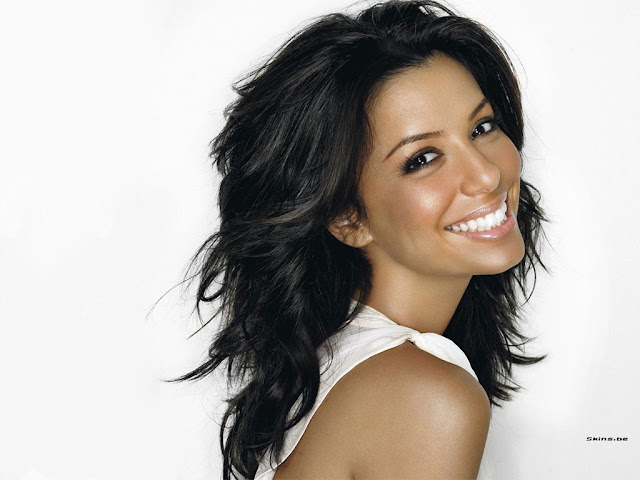
Open your Image in photoshop
Create a new Layer
Go to Layer - New - Layer
Select Color icon and choose a color of your choice, then click ok
Select brush tool, then choose soft brush, set hardness to 0% and opacity to 100%
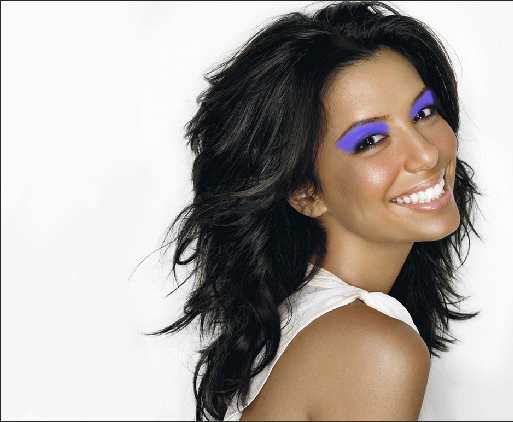
Start brushing on the part you want to apply make up
Once done with brushing select eraser tool, set opacity round 9 and hardness 0 then brush around the edges to make them smooth
Change blending mode to overlay or soft light, then select blur tool and brush around the egdes
Turn saturation and light down
Image - Adjustments - Hue/Saturation
Play with Opacity until you are satsified, you can follow same proceedure to add lipstick,blusher and eye shadow