Now lets learn how to add realistic Rainbow to a photo
Open an Image in Photoshop
Add a new Layer
Go to Layer - New - Layer or simply click Shift+Ctrl+N
Name new Layer Rainbow
Select Gradient Tool , make sure Rainbow layer is selected
Click on the Gradient Picker in the Options Bar, a list of additional Gradient will appear then choose special effect
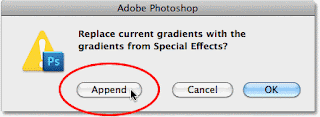
A window will pop up asking if you want to apply special effects then click
Append
Now Go back to Gradient Editor and select Russell's Rainbow
Make sure Radial Gradient is selected
As per below image, now Drag out a rainbow gradient from right to left in the image then release your mouse
Now press Ctrl+T to be able to reposition the rainbow as you desire
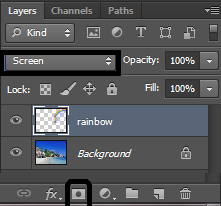
Change blend mode Of The Rainbow Layer To Screen
Go to Filter > Blur > Gaussian Blur, to apply Gaussian Blur into the rainbow
Add blur into the rainbow until it looks soft and natural
With Rainbow Layer selected ,add a Layer mask
You will see a white box appearing beside Rainbow layer
With Gradient tool selected, Go to gradient options and select Black,white
Choose "Linear Gradient" From The Options Bar
Drag A Black,white Gradient On The Layer Mask so that we can make rainbow appear brighter as it reaches into the sky
well, below is final result